| Features: |
| 1. |
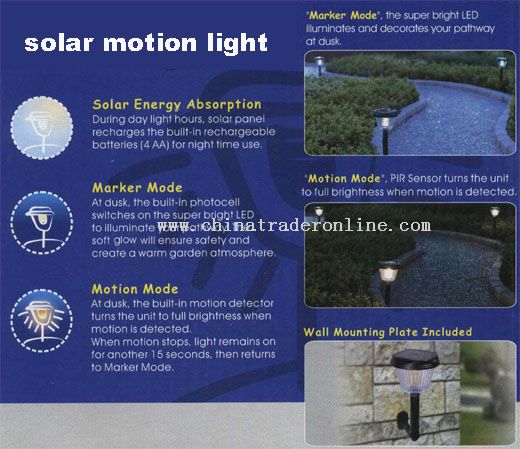
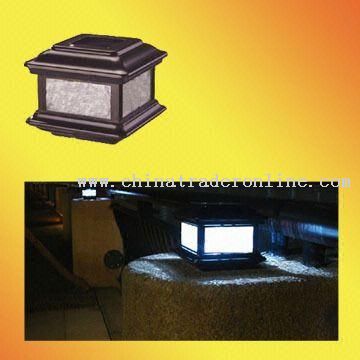
LED on at dusk |
| 2. |
Low voltage bulb on with motion at dusk |
| 3. |
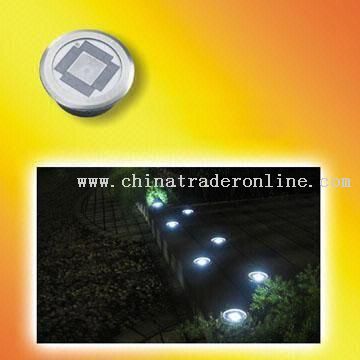
No wiring required |
| 4. |
Environmental friendly | |
| |
Specifications:
|
| 1. |
Detection angle: 110 |
| 2. |
Operating distance: up to 25 feet |
| 3. |
Delay on-time: 15 seconds |
| 4. |
Rated current for LED: 15-25mA |
| 5. |
Bulb: 4.8V/0.5A | |
| |
| Operation: |
| 1. |
Remove the top cover from the lampshade by twisting the top cover. Slide the switch to "ON" position and place the top cover back into position. The unit is now ready to function. NOTE: When initially turned on. The unit has a warm-up period for about 40 seconds. During this period, it does not respond to motion. |
| 2. |
During sunny daylight hours, Solar panel charges the built-in rechargeable batteries (4 AA Ni-CD) for nighttime use. NOTE: The rechargeable batteries were fully charged at the factory. However, the batteries might have been partially discharged during tranSportation. It is recommended that you place the unit under the sun for 2 days to recharges the batteries before use. |
| 3. |
Marker Mode: At dusk, the built-in photocell switches on the super bright LED to illuminate your pathway. |
| 4. |
Motion mode: At dusk, motion detector turns the low voltage bulb on when motion is detected. When motion stops, light remains on for anther 15 seconds, then returns to Marker Mode. NOTE: The unit will only respond to motion again 10 seconds after the low voltage bulb was turned off. | |
| |
| Installation: |
| 1. |
Choose a location where it has the maximum exposure to sunlight during daylight hours. Avoid putting the unit in the shadow of trees or under eaves. |
| 2. |
Whenever possible, locate the unit so that motion moves across the coverage area, not directly towards or away from the motion sensor. It is because the motion sensor is more sensitive to motion across it, not towards or away from it. |
| 3. |
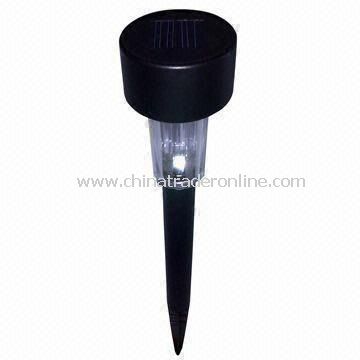
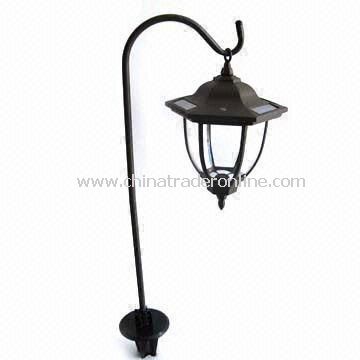
To the Ground: Vertically insert the stake into the ground. Connect one of pole sections to the stake. If you need extra length, connect the second pole section to the first one. Place the unit onto the other end of the pole section. |
| 4. |
To the Wall: Secure the wall mounting plate onto the wall by using mounting screws. Connect one of pole sections to the wall mounting plate. If you need extra length, connect the second pole section to the first one. Place the unit onto the other end of the pole section. | |
| |
| Sizes and weight list |
| box size(cm) |
carton size(cm) |
GW |
pcs /ctn |
| 19*19*20 |
76*40*34 |
14.9 |
16 | |